
How to refurbish furniture
Refurbishing is a great way of breathing life into your vintage or antique furniture. It’s a time taking and tricky process, yet rewarding at the same time.
Apart from restoring an older piece to its glory, refurbishing also helps minimize wastage, reduce dumping in landfills, and help you live in a sustainable fashion. Upcycling or refurbishing has caught the fancy of many people these days. If you are trying to reduce your carbon footprint, you might want to explore refurbishing.
You can either approach a professional to refurbish your furniture or do it yourself.
In case you are planning a DIY project, you will find this article extremely useful.
Before you embark on a refurbishing project, here are a few essential know-hows
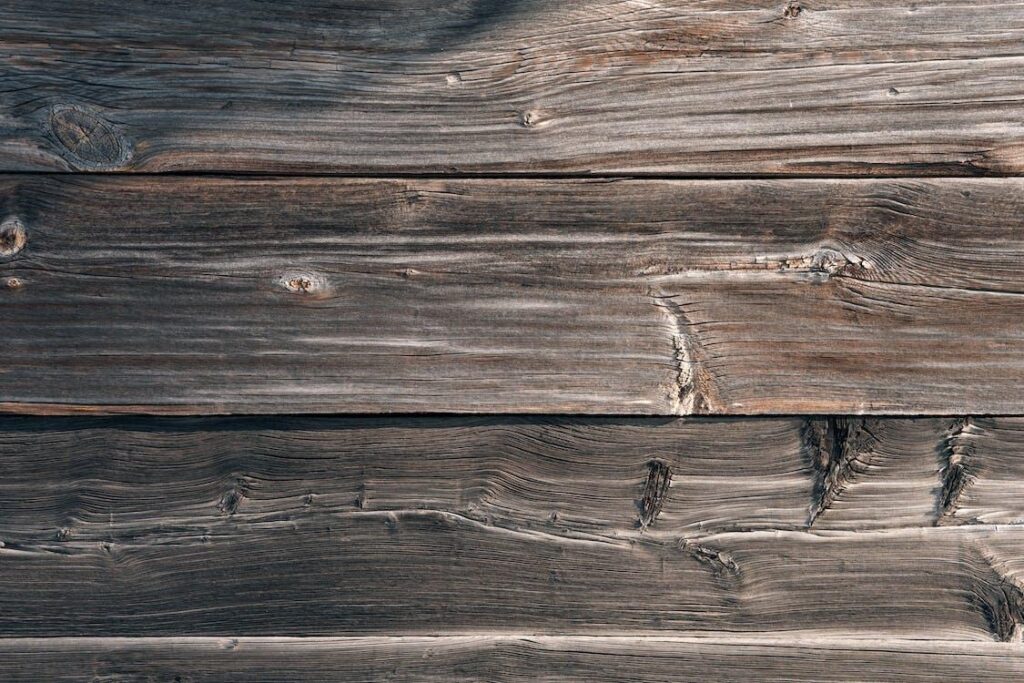
Know the material
It is important to know the constituent material of the furniture as it impacts the process of refurbishing. Pine, teak, oak, ash, and wrought iron are constitutionally different and demand a specific chemical, paint, treatment, and process.
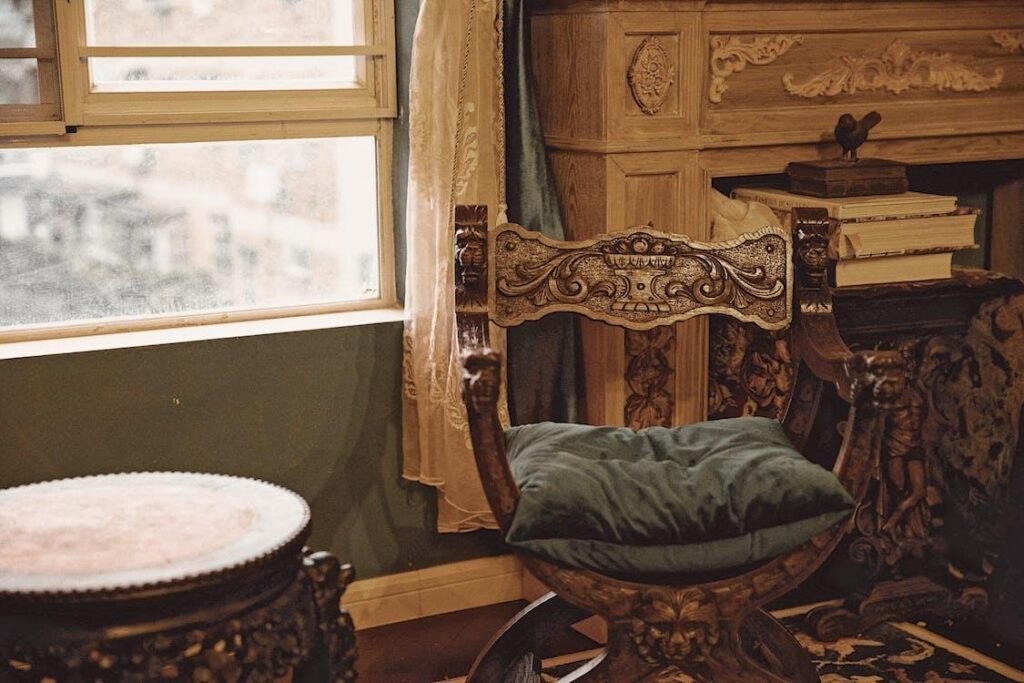
Check its worth

Image –Charlotte May/ Pexels
While it is natural to be emotionally attached to old furniture, you should be aware that refurbishing requires a lot of time and effort. It is definitely not worth the effort if –
- The furniture is damaged and unsafe for use.
- The piece is burnt or blemished.
- Cost of refurbishing is astronomically high.
You can use mineral spirits to assess the worth of the piece.
It is always beneficial to seek an expert’s opinion before starting on a restoration project.
Take it outdoors
Refurbishing involves using industry-grade cleaners, sealants, primers, etc. Inhaling these fumes can be dangerous.
It is best to work outdoors in an open space so as to minimize harm.
If you are working indoors, then leave all the windows open to ensure steady circulation and proper ventilation.
Time Commitment
Any restoration or refurbishing activity requires a lot of time. You need to assess the time required for the project, and if you are willing to commit to the same. Depending on your skill, expertise, and prior experience, it can even extend beyond your initial assessment.
Define your budget
Though refurbishing furniture is a thrilling experience, you should have a clear budget in mind before starting any work. You should ensure that restoration does not cost more than the actual price of the piece.
Supplies

Image credit – Pixabay
You require a few essential items for any refurbishing project. You can easily find them at your local hardware supplies store.
- Protective gear – rubber gloves, eyewear, tarp
- Wood glue and putty
- Measuring tape
- Paint stripper
- Brushes
- Sanding tools like a power sander, handheld sanding block, or sandpaper
- Sealant
- Primer
- Varnish
- Your preferred paint or stain
- Rags, dish soap, or oil soap, and buckets
The Process
Once you have understood the material and gathered the supplies, you can begin the exciting process of refurbishing. Here are a few basic steps to keep in mind.
Cleaning

A thorough cleaning is the most important step in refurbishing. It is vital to remove any built-up dirt, dust, and grime.
This is a simple procedure and all you need is dish soap, water, and a rag cloth to get started. Scrape off any loose paint without damaging the wood.
Give the furniture a good scrub, rinse it well, and dry it off with a clean towel.
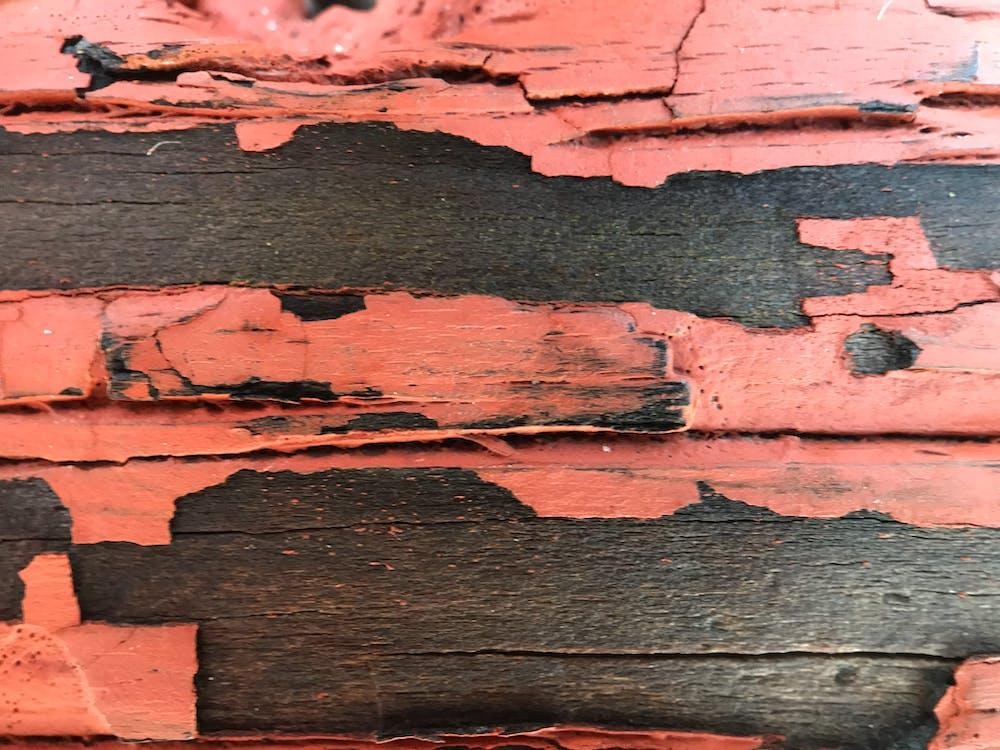
Stripping
Once the furniture is clean of visible dust, you can move on to the next process. Applying a chemical stripper would enable the removal of the existing stain, paint, or finish.
Strippers are highly toxic and thus it is important to wear protective gloves and eyewear while working with them. Also, the room should be well-ventilated.
You can avoid this step in case the final look you want is similar to the existing finish.
Sanding
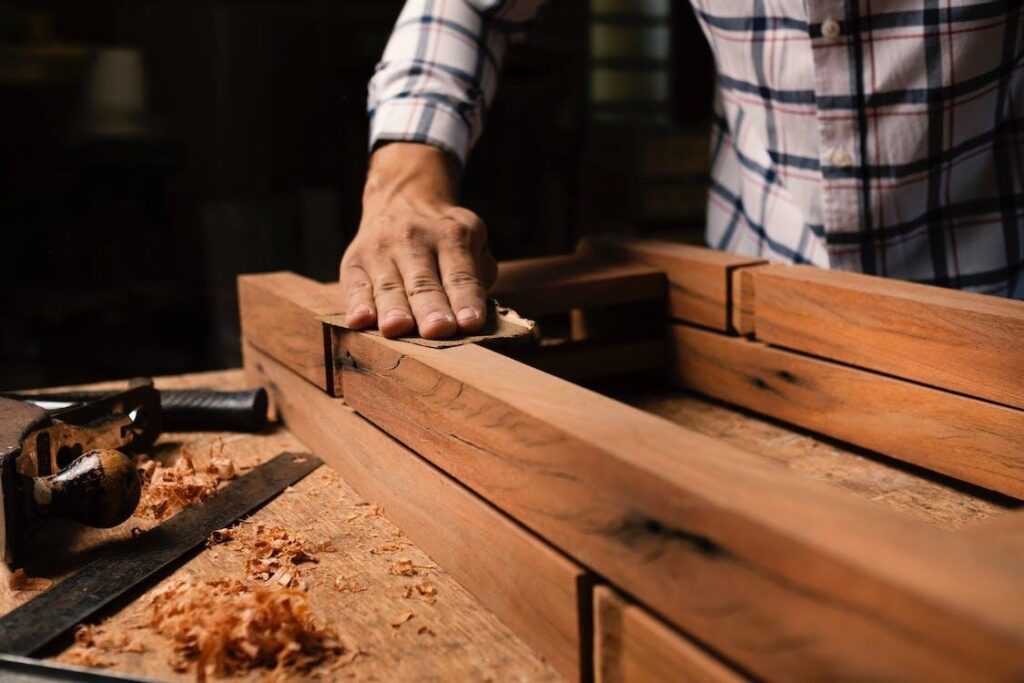
Now that your furniture is free of any colour or stain, it needs to be sanded so that the new paint can be applied smoothly and evenly.
You can use sandpaper or power sanders depending on the size of the item. If it’s a larger project, power sanders make the job quicker and easier. However, for crevices, you might still need to use sandpaper.
It is important to sand in the same direction as the grain, or else you might end up with scratches on the surface.
The next step is to wipe the furniture piece with a clean, dry cloth to remove the minute dust and wood particles.
Sealing

A sealant helps in better paint or stain absorption.
Using a paintbrush, you can apply good-quality sealant on the entire piece.
Once the sealant is completely dry, you can proceed to the next step.
Painting or Staining

There are many kinds of paints available in the market – water-based, oil-based, or gel-based. The choice of paint depends on the type of wood, and the final finish you desire.
Apply 2-3 light coats and paint following the natural lines of the furniture.
Let the furniture cure in an open, dry, and warm area. Generally, it should dry in a day’s time, but drying time varies from product to product.
Finishing
Once the paint is dry, you can finish the process by applying a layer of varnish.
Before applying the final finish, check for any cracks, dents, or gaps and attend to them.
Refurbishing is an exciting and satisfying experience. And once you get the hang of it, there’s no stopping!
So, next time you spot an old piece of furniture in a garage sale or are emptying the attic, pause and assess its worth before turning away. Who knows, you might end up refurbishing the piece and give it more years.